
Home Canning Peaches
Like any fruit, peaches have to be ripe when you preserve them, but not too ripe. If they are, they’ll fall apart and be mushy, so preserve them when they’re still slightly firm.
 Make the sugar syrup first. This is a light one, but if you want something heavier add an extra cup or even two of sugar. If you want something even lighter than mine, you can omit the sugar altogether. Simply drop your peach segments into the two quarts of water in the pot and continue as if it were syrup.


Wash the peaches well, then remove their skins by scoring them with an X and giving them a one-minute dunk in boiling water. This will make their skins soft and easy to peel. Some people “shock” the peaches in an ice bath right after, but I don’t bother because I don’t feel the peaches cook a significant amount when they come out. At least not for canning. I just set them aside.


After peeling, cut the peaches into segments. I usually cut them into fifths. One year I will try halves, but not this year. Drop the pieces into the cooled sugar syrup (or water, if that’s what you chose) for a sweet bath before they get heated.


Heat the peaches over the stove until they just start to boil–then turn off the heat. The jars must also be sterilized and hot before packing the peaches into them. Is it any wonder this method is known as hot packing? You can preserve peaches without heating them (cold pack method), but it results in a less superior product. Heating the peaches tends to retain its sunny color. Heating also releases air from the fruit, so you can pack more into the jars. Because no air is released with the cold pack method, a space tends to form at the bottom of the jar which I find unappealing. This does not happen with hot packing.
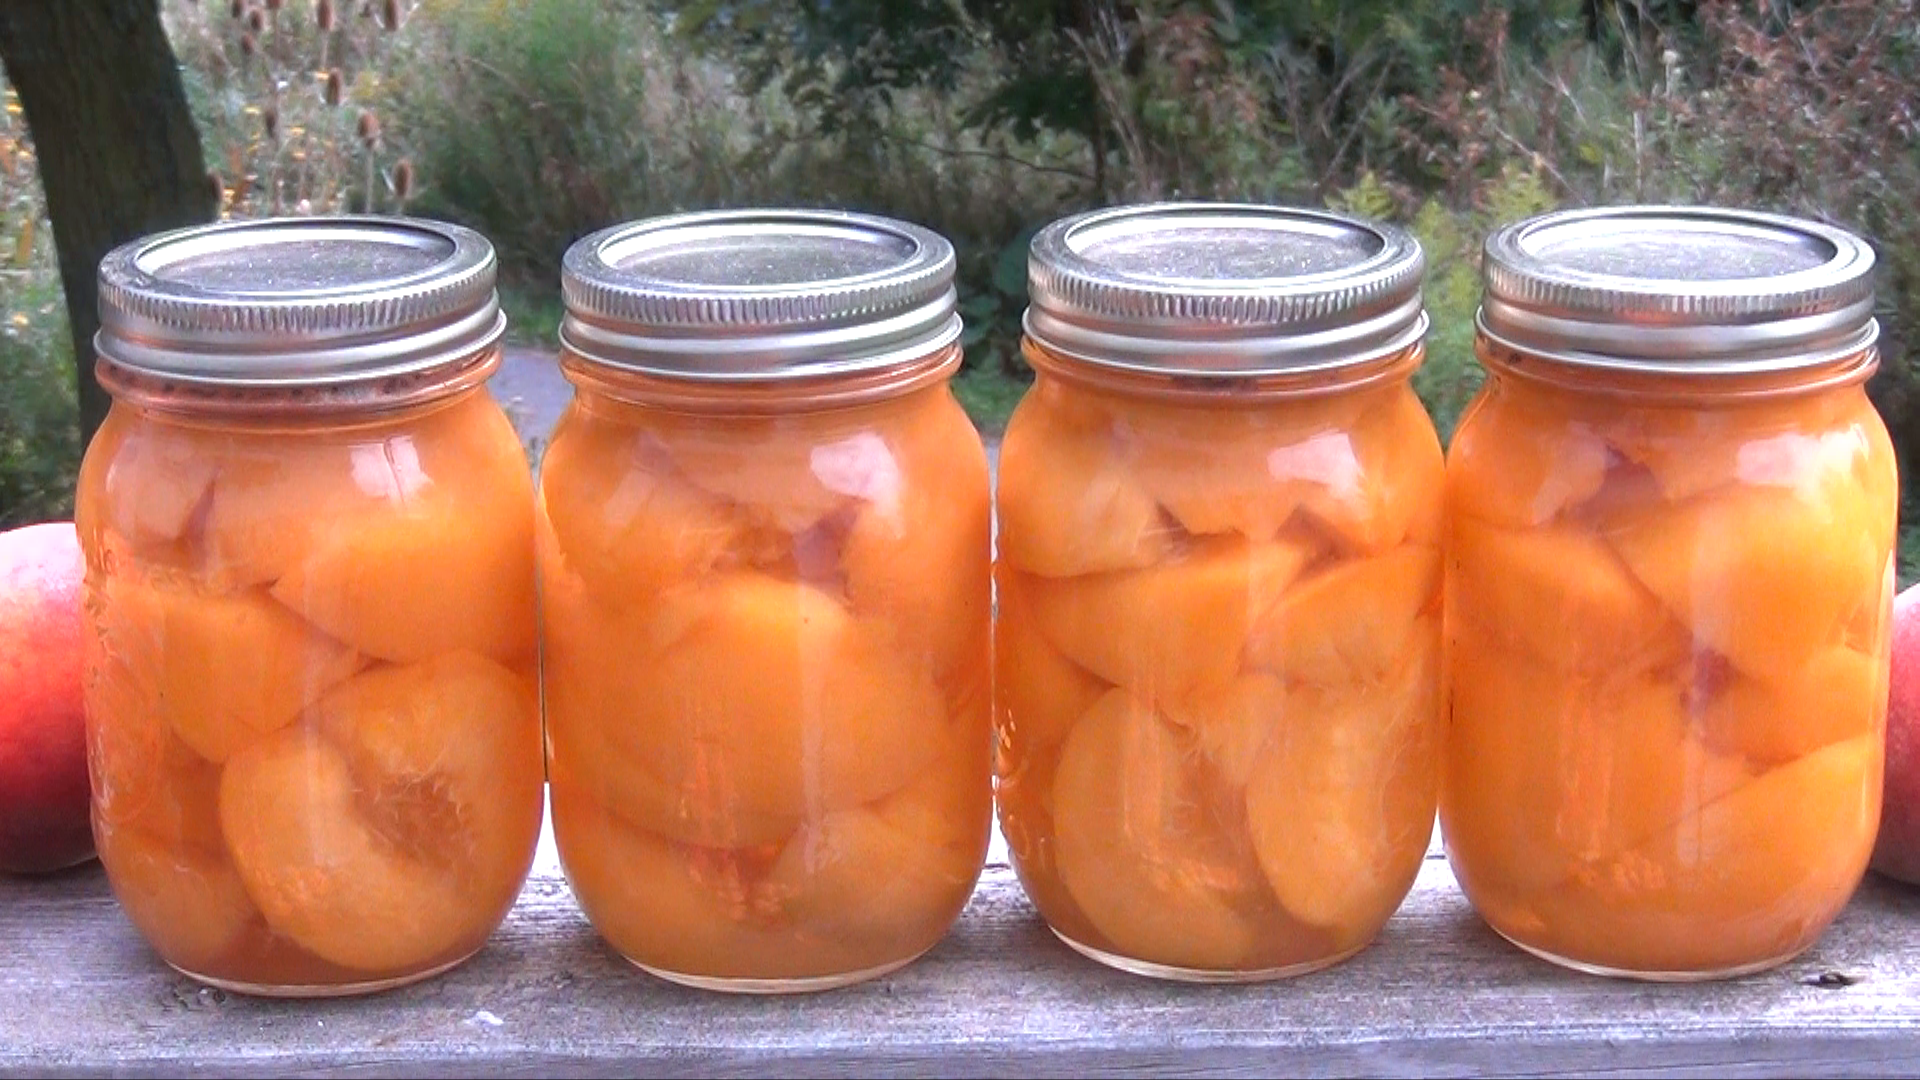
Pile the pieces into the jars, cut side down. This fills up the most space in the jar. Then top off each jar with syrup. You must then slide a spatula down the inside walls of each jar to release air bubbles. Then top it up with more syrup so it comes a quarter-inch from the top of the jars.


Wipe each jar’s rim with a damp paper towel. This will clean up any stickiness that might inhibit a successful seal. Then close each jar with a (sterilized!) lid and screw band, respectively. Give them a light fasten and dunk them into the water canner.


In the canner, the jars should not be crowded. This allows good circulation of heat through the jars. They should also be submerged under the water completely. With the canner lid on, process them for twenty minutes. Remove them from the canner and set them on racks to cool. The lids will either begin to pop instantly, or over the next few hours. This is the happiest moment of canning!
Sugar Syrup For Preserving Peaches

Ingredients
- 2 quarts water
- 1 cup sugar
Instructions
- Combine water and sugar in a pot large enough to hold your peaches.
- Bring to a boil for five minutes.
- Remove from heat and cool completely.
Wanna see the entire process? Click the video below!
Love your recipes
Made the strawberry jam
The use iof apples perfect
Making blueberry preserves following same process
Any thoughts
Like the grated apples in lieu of pectin
How can I sign up for your blog
Hi! Thank you so much! I am happy you are enjoying my recipes. I currently do not have a subscription service, but I will very soon. I will make a note of your interest and reach out to you when it happens. Happy Cooking!