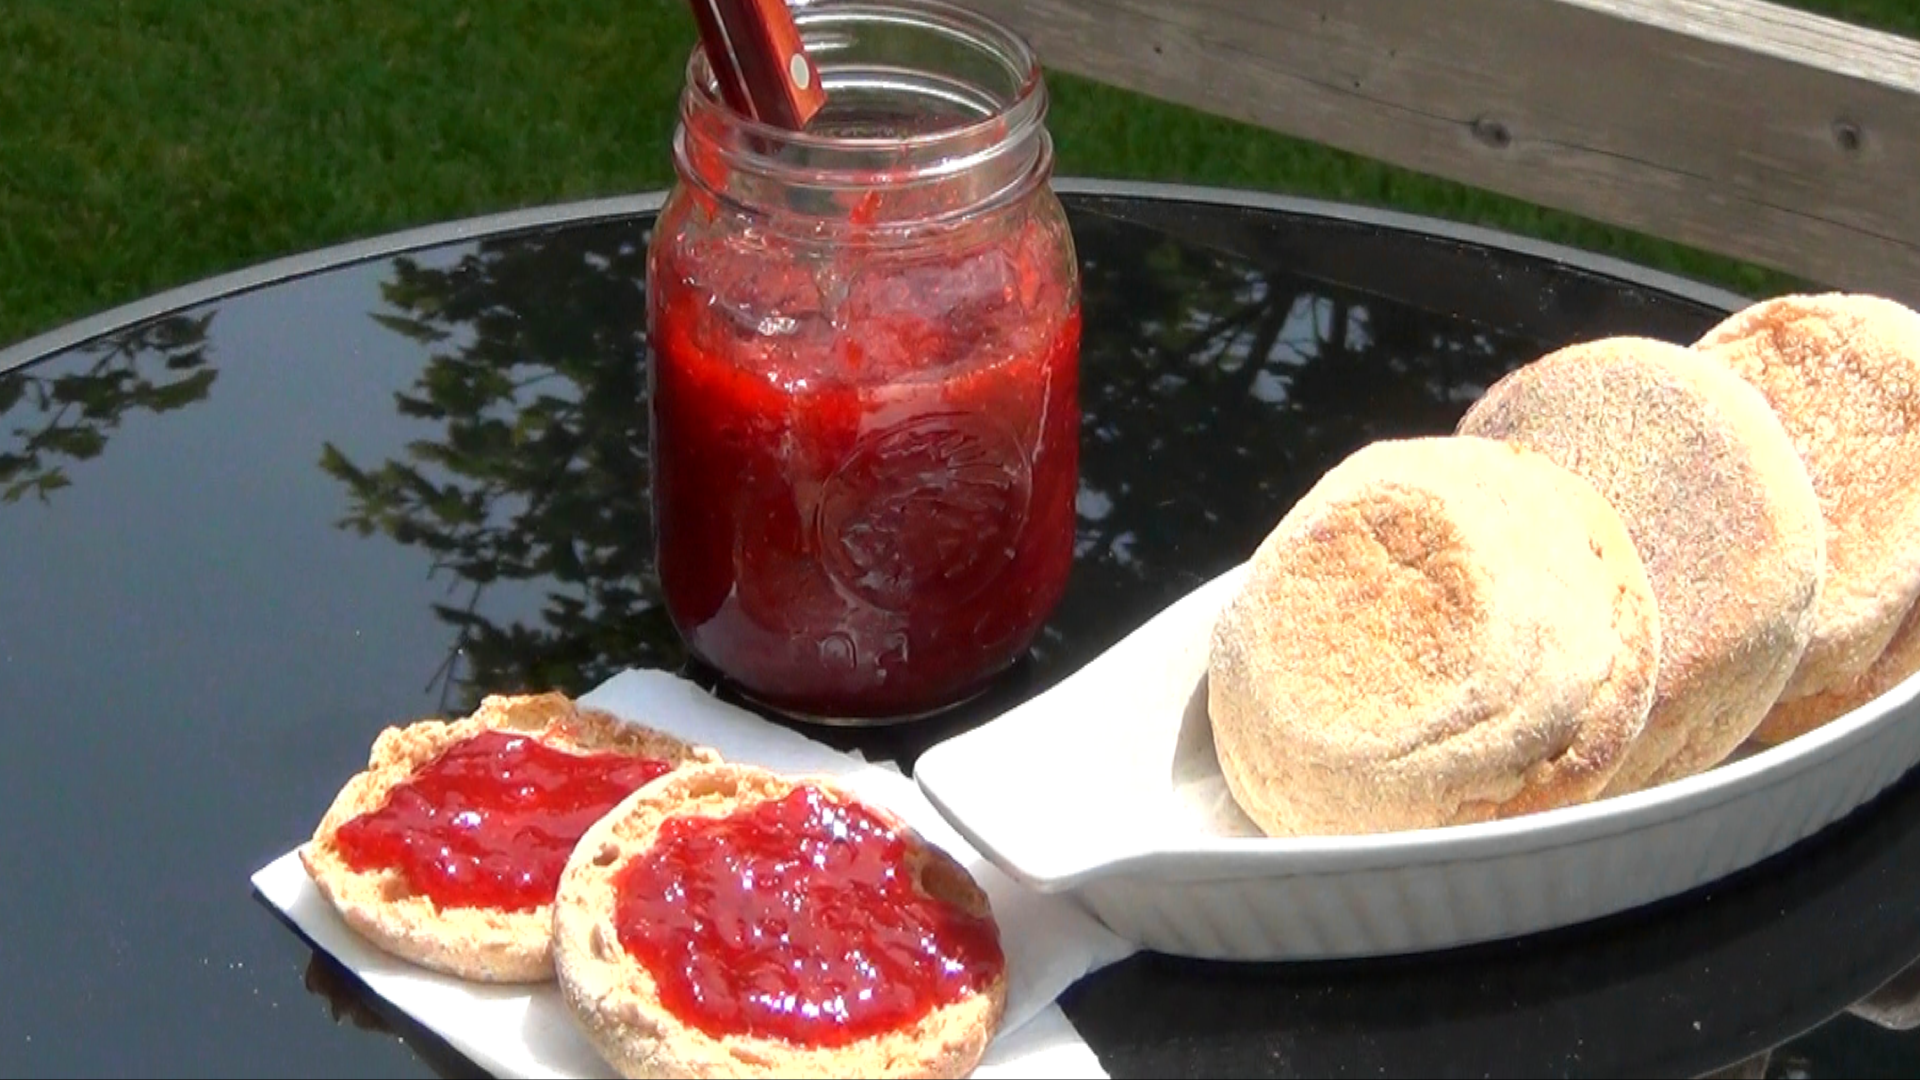
Strawberry Jam – The Old Fashioned Way

Because we’re in the peak of strawberry season, I want to share with you my favourite recipe for strawberry jam. Old fashioned guy I am, I do this using the water canner method. I do this with peaches too—see how I do that here! Prepare to spend at least half your day doing this!

Use the freshest berries possible–if you’ve just picked them, bravo! Wash before hulling them; doing the reverse will lose a lot of flavourful juice.

Low And Slow
I like to macerate the strawberries in the sugar overnight, even though the video suggests 4 hours. To do this, you must place them in a non reactive container. To be safe, use something glass, ceramic or plastic. Mix the berries in the sugar then cover them. Be sure that they macerate in the fridge. The berries in this picture have macerated overnight, which is why you can’t see the sugar. It mostly disappears! I use shredded Granny Smith apples instead of pectin. Their acidity helps gel the jam. Don’t worry–you will not see or taste them in the end.

As the berries come to a boil, I use a potato masher to crush them.

I crush the berries from time to time as I remember to, and let the jam cook for 1 1/2 hours. You can get away with 45 minutes, but I like my jam a little thicker. You then add some lemon juice to it a short time before turning off the heat. This also helps with further gelling.

Stay Safe And Sterilize
Before transferring the jam into jars, I bake them at 220F for 20 minutes to sterilize them. You can also boil them, but I find this easier. What I do boil are the lids and screw bands. This not only sterilizes them, it loosens the rubber ring that seals the jar after processing. Boil these for 5 minutes.
Order a canning starter set here!

Keep the jam and jars hot while you fill them. I do 4-6 at a time and keep the other jars in the the oven to stay hot. Leave a 1/4 inch head space at the top of each jar to allow room for expansion during processing. Wipe the rims with a damp paper towel before capping with the lid. Finally, avoid tightening the screw bands too much. Close them until they are finger-tight, in other words, as soon as it feels firm when you screw the band on.

When processing in the water canner, be sure the jars are well submerged under the water’s surface. I process them for 10 minutes. After removing them, the lids will start to “pop.” This is a sign that the jar has sealed, and it can take anywhere from one minute to a few hours for it to happen. Any jars that don’t seal will either have to be processed again with a new lid or the jam can be refrigerated and eaten right away.

I hope you’ll give my jam recipe a try. If you do, let me know what you think!
Want to see a video demo for this recipe?
Ingredients
- 16-20 cups strawberries, washed & hulled
- 6 cups sugar
- 4 Granny Smith apples, peeled & shredded
- 1/2 cup lemon juice
Instructions
- In a large pot (or 2 pots) combine strawberries, shredded apples and sugar. Bring to a boil on high heat, crushing with a potato masher until well broken down. Reduce heat to low and simmer for 1-1/2 hours, depending on desired thickness. Continue crushing the strawberries from time to time during cooking. Towards the end, stir jam frequently to avoid scorching.
- Five minutes before removing from heat, add lemon juice.
- While jam is still hot, process in sterilized jars in a water canner for 5 minutes. Yield 12 half pint jars.
Yum


